How a soil moisture sensor works (and how a child builds a plant monitor with one)
A plant monitor is one of the best first builds there is: three wires, a few blocks of code, and a result your child can check with their own fingers in the soil. Here is how it works, and how to build one.
What the sensor is actually measuring
Most classroom soil moisture sensors are two metal prongs. Water carries electricity better than dry earth, so the sensor passes a tiny current between the prongs and reports how easily it got through. Wetter soil, easier path, different number.
The micro:bit turns that into a reading from 0 to 1023. Which way the number moves depends on the sensor: on some, wet soil reads high; on others, it reads low. That is not a flaw to hide from a child — finding out which way yours goes is the first experiment. Read it in a cup of dry soil, then a cup of wet soil, and write both numbers down.
Three wires: power, ground, signal
Every sensor needs the same three things. Power (3V on the micro:bit) and ground (GND) let it work at all; signal carries the reading back to a pin the micro:bit can measure, usually P0.
Two rules worth saying out loud before anyone plugs anything in. Never connect 3V straight to GND — that is a short circuit, and it is the one wiring mistake that can damage the board. And keep water away from the micro:bit itself: only the prongs go in the soil, and the board stays dry above it.
The code: read, show, decide
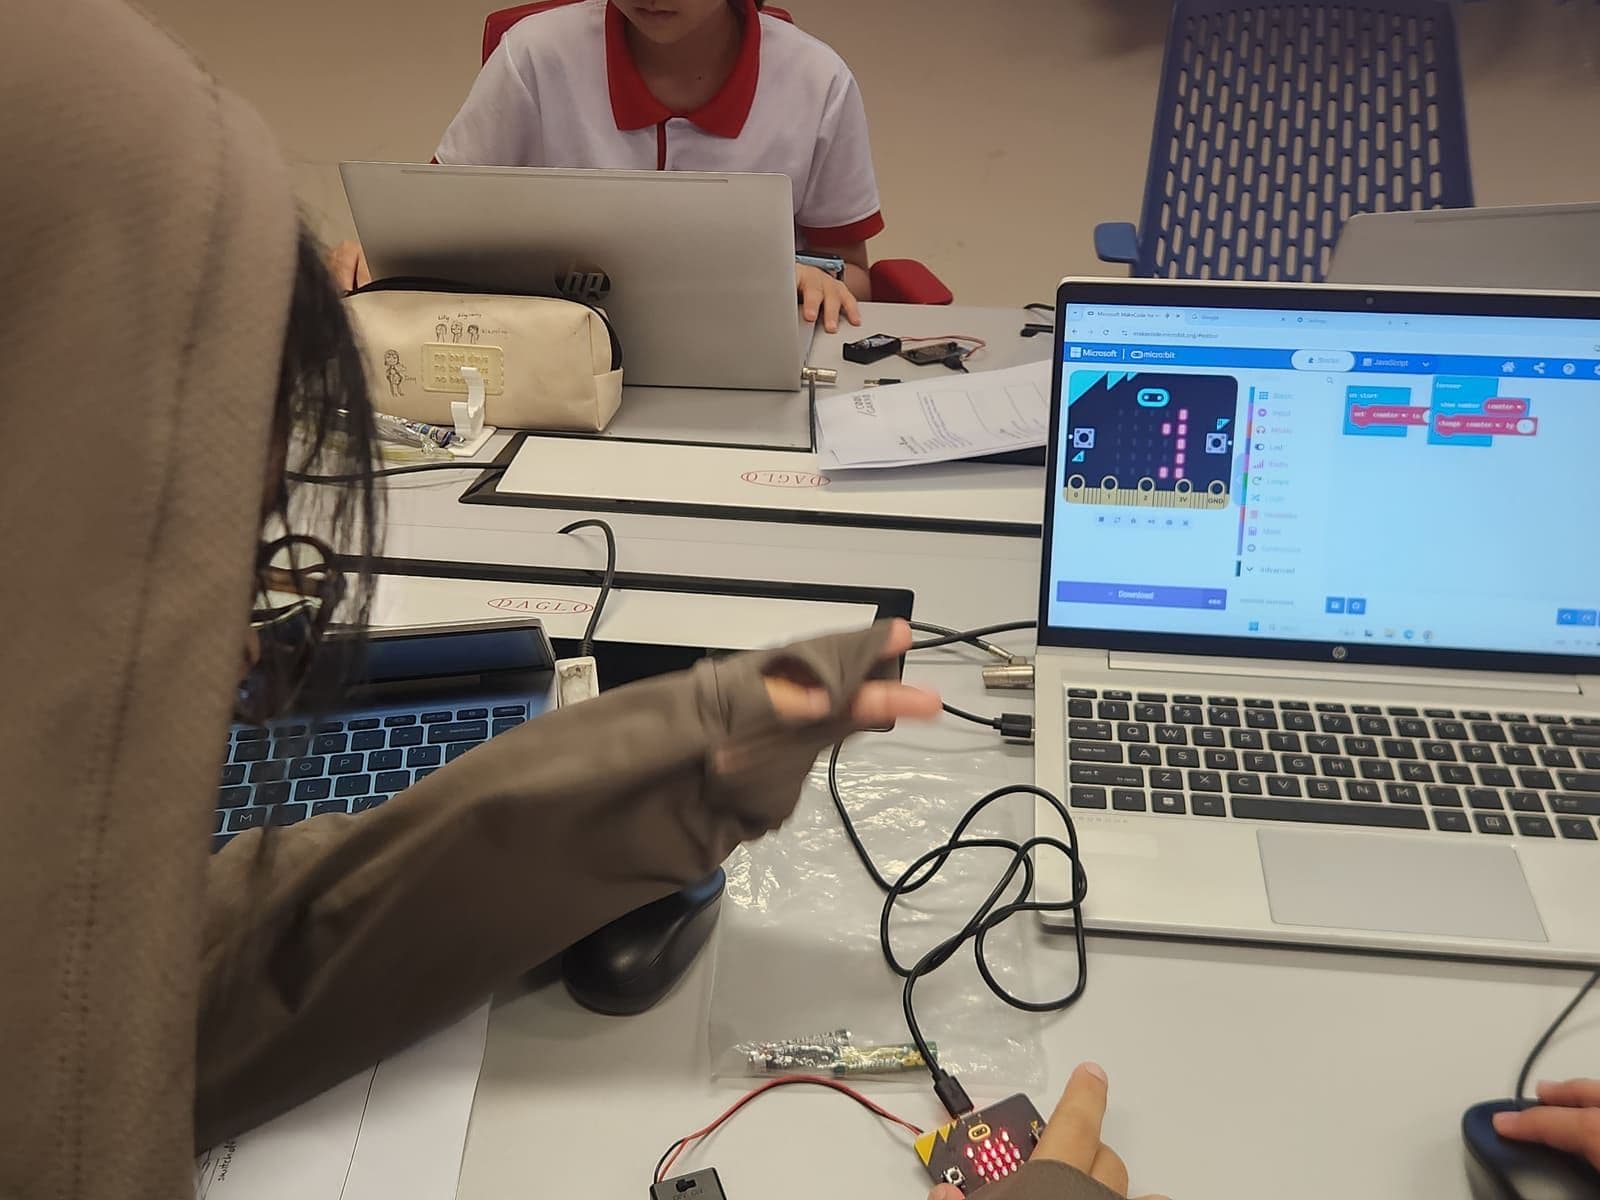
In MakeCode, the whole first program is one loop: read the analogue value of P0, show the number. Push the prongs into the soil and watch it change as you water. Children are usually surprised by how fast it moves.
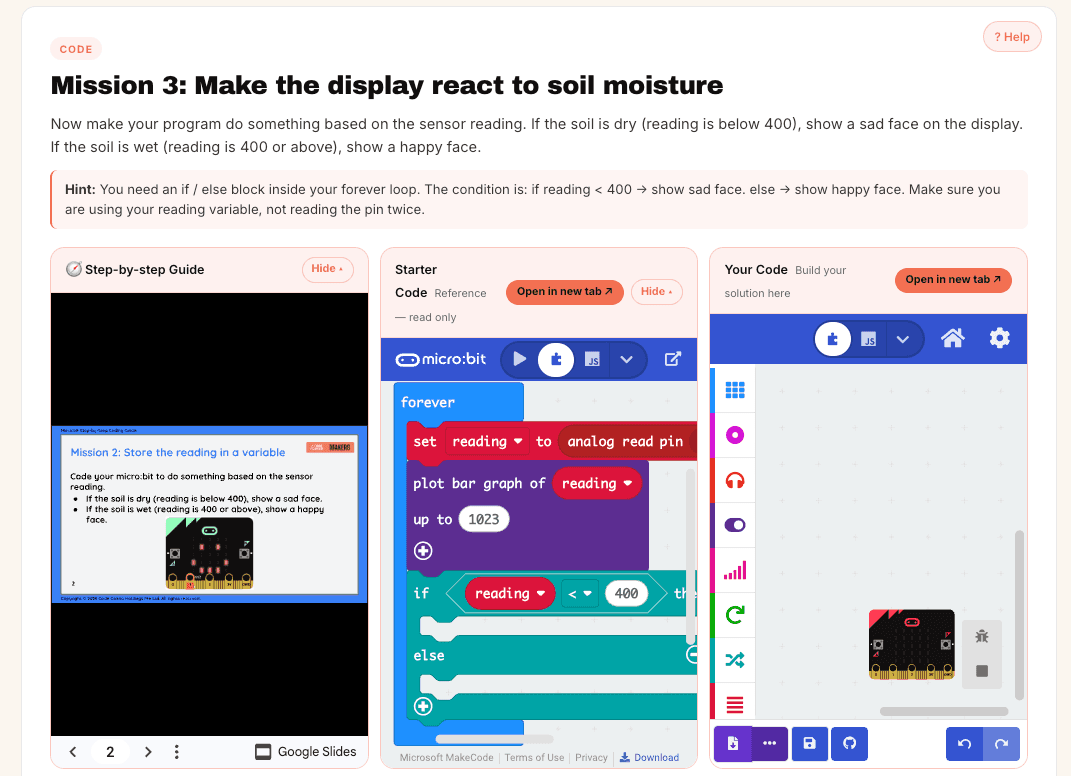
Then comes the part that makes it a monitor: a threshold. If the reading is on the dry side of a chosen number, show a sad face; otherwise, a happy one. The number comes from the experiment above — roughly halfway between your dry and wet readings is a fine first guess, and the plant will tell you within a week whether it was right.
Three ways to take it further
The same hardware stretches a long way, which makes it a good build for siblings of different ages:
Happy or sad face for wet or dry soil — a complete, working project for a younger child.
A moisture bar graph that fills as the soil gets wetter, plus a sound when it gets too dry — the micro:bit V2 has a speaker built in.
A “plant mood” that combines moisture with the board’s own light or temperature sensor. Is the plant thirsty, or just sitting in the sun? This one has no single right answer, which is exactly why older children enjoy it.
From monitor to self-watering plant
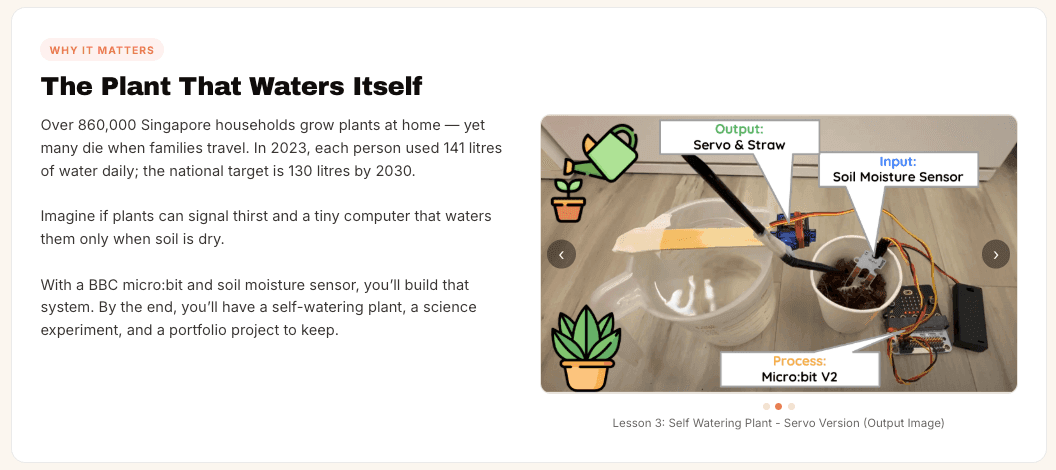
A monitor tells you when to water. A self-watering plant does it: the same threshold, but instead of a sad face, the micro:bit switches on a small pump or turns a servo to tip water in.
One honest warning if you try this at home. A pump needs more power than a micro:bit pin can supply, so it is driven through a motor driver or relay with its own battery — not wired straight to the board. A servo is the gentler first step: it runs from the micro:bit and still makes the point that code can act on the world, not just report it.
How to help without taking over
Let your child hold the mouse. When something does not work, ask what they expected to happen and what happened instead before suggesting anything — the gap between those two answers is where the learning is.
And put the plant somewhere it will be seen. A monitor that lives on the kitchen windowsill gets checked, argued about and improved for weeks. One that goes back in the box after the first success does not.
Common questions
+What do I need to build a micro:bit plant monitor?
A micro:bit (V2 if you want sound), a soil moisture sensor, three jumper or crocodile-clip wires, a USB cable and a laptop with Chrome for the free MakeCode editor. A potted plant and two cups of soil, one dry and one wet, for testing.
+Is a plant monitor too hard for a 6-year-old?
Not with an adult nearby. The wiring and reading the numbers need help at that age, but the happy-or-sad-face version is well within reach, and seeing their own plant answer back is a strong first experience of code.
+Why does my soil moisture reading go down when the soil gets wetter?
Some sensors are built that way round. Neither direction is wrong — test the sensor in dry and wet soil first, note both readings, and set your threshold and your “dry” comparison to match.
+Can the micro:bit power a water pump directly?
No. A pump draws more current than a micro:bit pin can provide. Use a motor driver board or a relay with a separate battery pack, and keep the pump’s water well away from the electronics.
Written by the Code Gakko team. Where this guide describes MOE policy or a competition, please treat the organisation’s own site as the authority — details change from year to year.